
Paper Industry: Wear Repair and Protection of Vacuum Couch Roll Shells
The vacuum couch roll is located in the press section of the paper machine. Its construction is fundamentally similar to that of a pickup roll.
The roll shell is cast from bronze or stainless steel, and its thickness is determined by the required stiffness and strength.
Vacuum pressing can remove more water from the wet web compared to conventional pressing, increasing sheet dryness content, reducing crushing of the sheet, ensuring more uniform dewatering across the width, and helping the felt maintain a stable, good condition.
Common Damage to Vacuum Couch Rolls
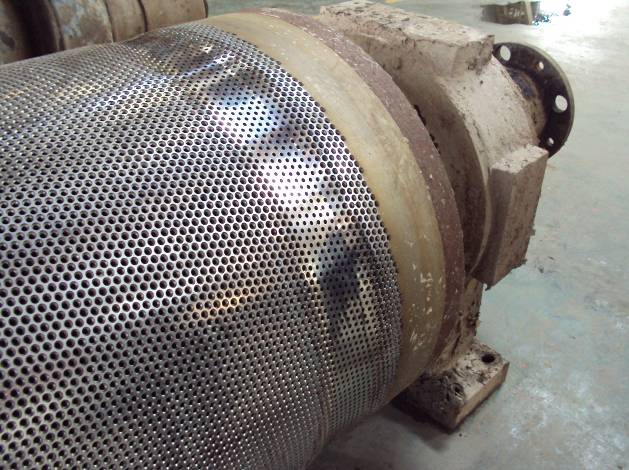
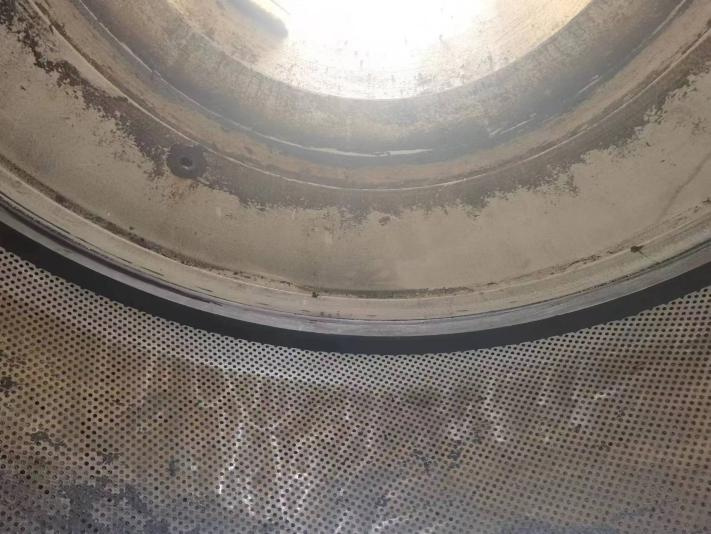
During long-term operation, vacuum couch rolls suffer from extrusion wear caused by graphite strips, leading to severe localized abrasion marks on the roll body surface.
Impact from materials often causes localized scratching issues, such as local damage to the roll face, scratches on the inner wall of the roll shell, and wear at the airbag areas on both ends of the roll body.
Wear at the drive components of the roll body is another frequent type of failure, including wear at the vacuum couch roll bearing seats, journal wear, and keyway damage.
Repair Process Analysis
A modern and advanced method for solving vacuum couch roll failures is the application of polymer composite materials.
The material possesses excellent adhesive properties and compressive strength, enabling repair without disassembly or machining, saving significant time and effort compared to traditional methods.
Furthermore, the coating itself offers oil resistance, corrosion resistance, and self-lubricating properties, ensuring the repaired roll body’s wear resistance and preventing secondary wear on the roll.
Related Information
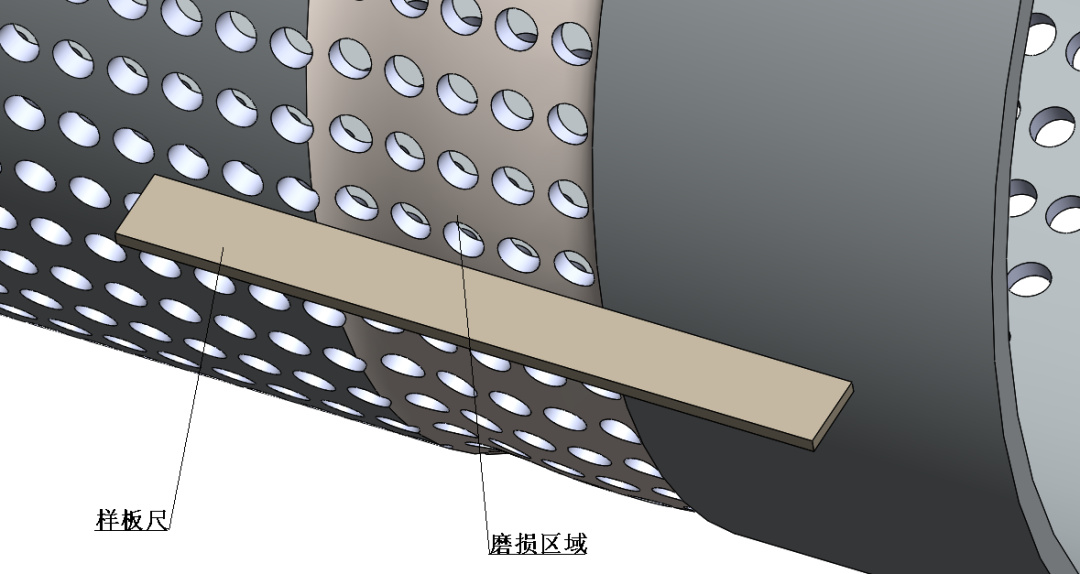
From an operational process perspective, first, a steel ruler is used as a template ruler, positioning it based on the unworn area as the reference surface (see image below).
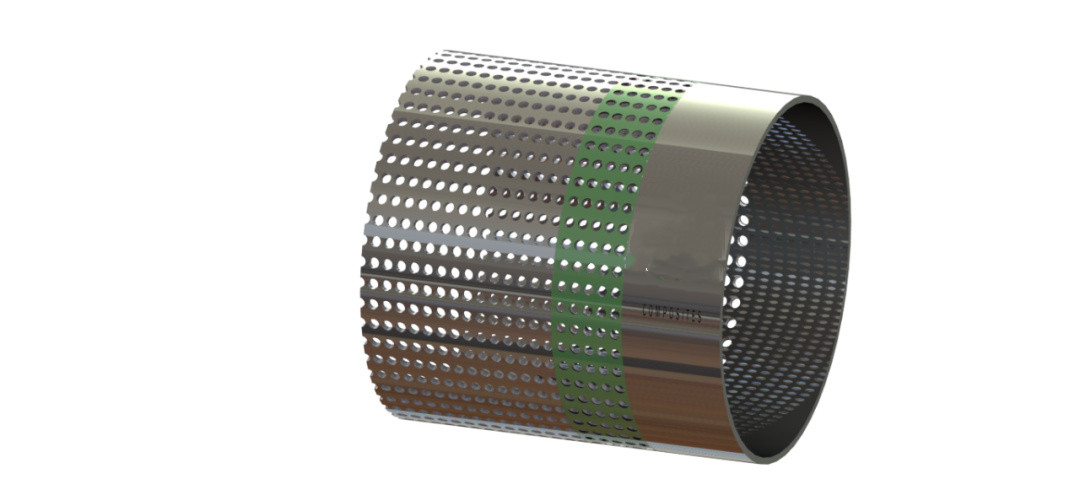
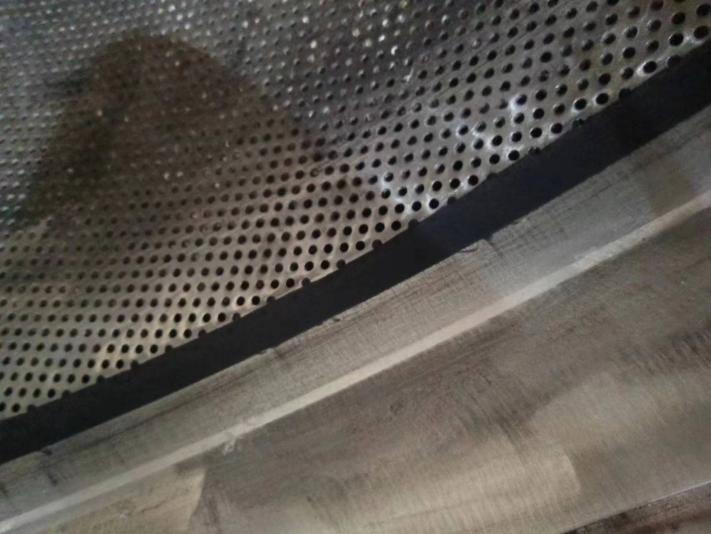
Then, H500 polymer material is applied directly to repair the worn area, and the template ruler is used to scrape it level (see image below).

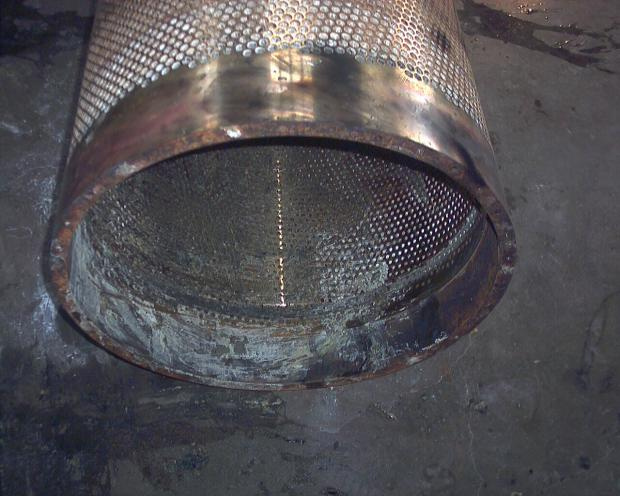
After curing for several hours, the originally designed holes are drilled using an electric drill (see image below).
Assembly and start-up can be achieved within 7-8 hours, avoiding prolonged downtime for the enterprise. BANNOR technology allows for on-site repair in the workshop, requiring short timeframes and lower costs.
Additionally, enterprise personnel master this new repair method, enabling them to perform repairs independently and promptly if similar issues recur in the future.
Field Operation Steps
- For the worn area, use an acetylene-oxygen torch to burn off oil that has penetrated the substrate until no sparks are visible on the surface.
- Use a grinder to roughen the surface.
- Clean the ground surface with absolute ethanol (99.7%) to ensure it is clean, dry, and sound.
- Place the template ruler on the reference surface and use a feeler gauge to measure the wear depth, calculating the amount of material required.
- Mix BANNOR H500 material according to the calculated amount, using a weight ratio of 9:1 (resin to hardener). Stir repeatedly until the color is uniform and consistent, with no color difference. (If the ambient temperature is low, use an iodine tungsten lamp to warm the material for easier mixing.) Spread the mixed material thinly on the mixing board and apply immediately to prevent premature curing.
- Apply the mixed material evenly to the repair surface. The first layer should be thin. Repeatedly scrape and press the material to force it into every micro-pore on the surface, ensuring adhesion and complete coverage.
- Apply material to the entire repair surface, ensuring it is fully filled and slightly higher than the reference surface, then scrape it level using the template ruler.
- Wait for the material to cure—16 hours at 24°C.
- Drill the originally designed holes using a hand drill.
- Mix and apply material again, using a scraper to spread it over the repaired area.
- After the material cures, use an oilstone to grind the mating surface and measure the height with the template ruler until the dimensions are correct.
Our company provides a wear-resistant repair material, which is a two-component, room-temperature-curing, wear-resistant epoxy compound.
The product contains epoxy resin, premium additives, internal lubricants, and modified curing agents, while also possessing excellent chemical resistance.
As a wear-resistant material, it is specifically used as a lining for pump casings, impellers, machine tools, and low-speed bearings; suitable for plastic tooling, profiling machine molds, and any application environment requiring a smooth, wear-resistant surface.
Its main physical data are as follows:
| Property | Value/Specification |
| Color | Dark Gray |
| Work Life @24°C | 45 minutes |
| Viscosity | Non-sagging paste |
| Coverage Rate | 3.2mm thickness, 0.16 m²/kit (900g) |
| Hardness (Shore Hardness, ASTM D1706) | Shore D 85 |
| Density | 1.73 g/cm³ |
| Tensile Shear Bond Strength (ASTM D1002) | 2,332 psi |